
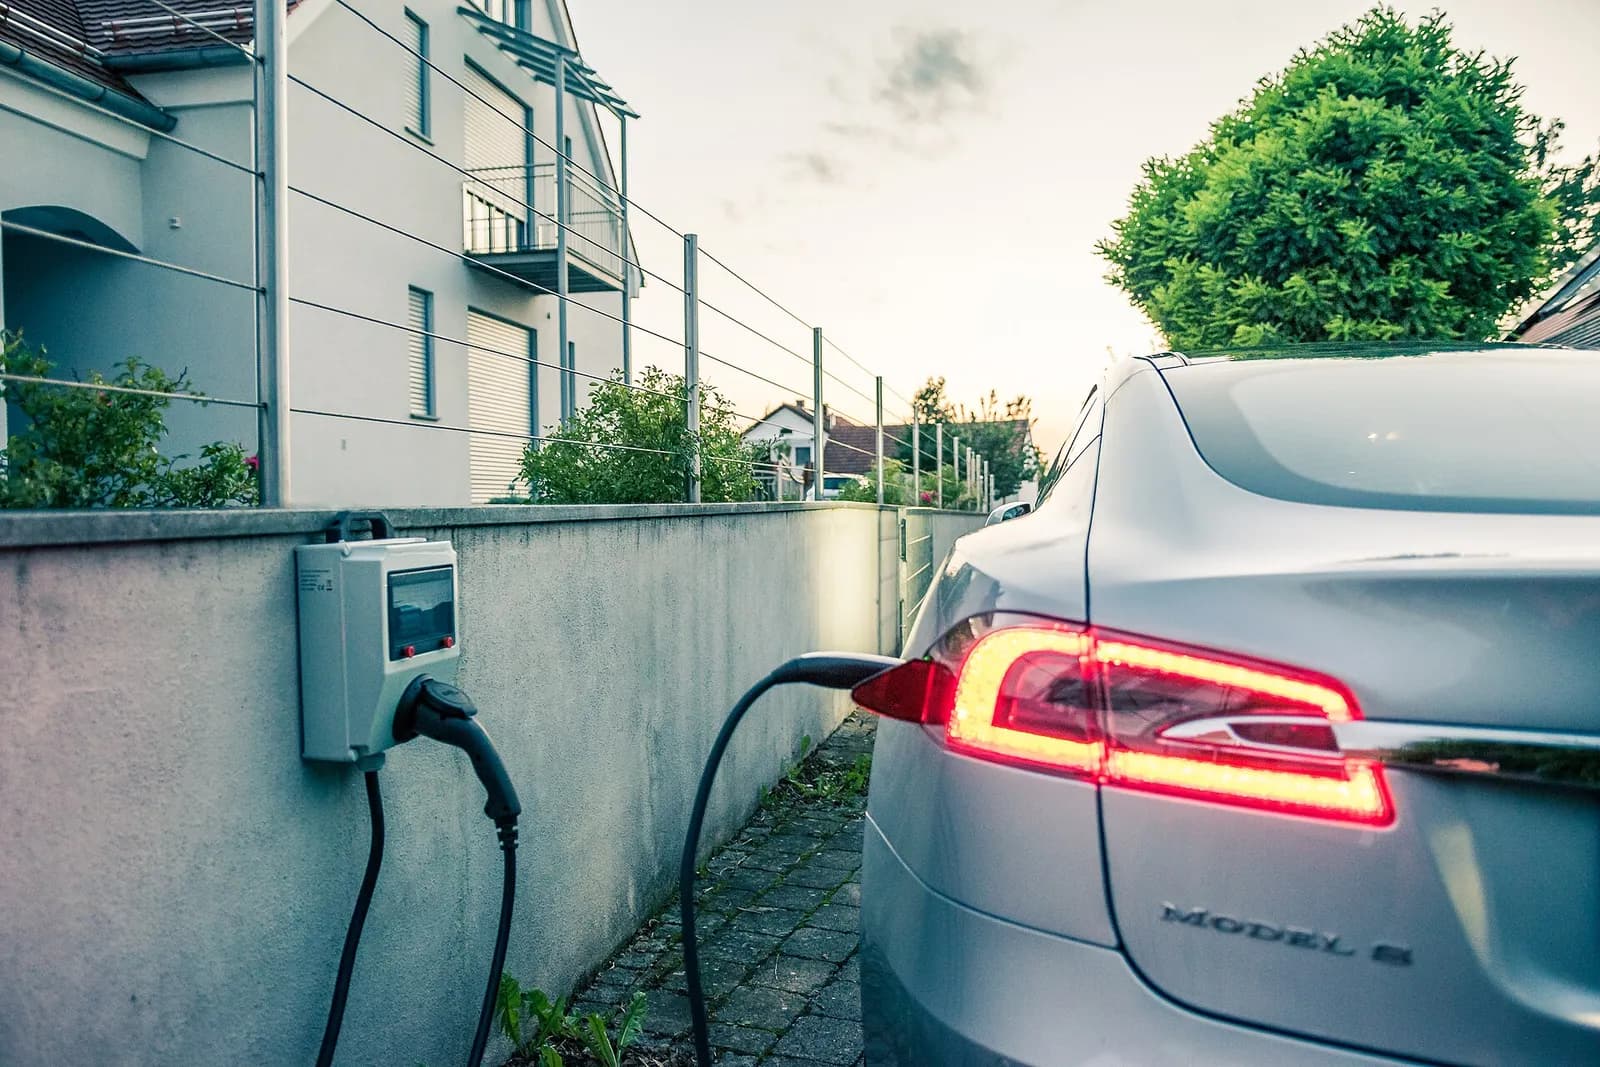
In short: there are six EV charger installation steps for a home: describing your installation, getting advice, approving the quote, having the charger fitted, having the circuit inspected (RGIE) and commissioning it. The fitting itself usually takes half a day to a full day. The most important part happens beforehand: knowing your fuse box and the cable route well.
Step 1: describe your installation
A good quote starts with a few simple details:
- the location of the charger: garage, front wall, carport or post on the driveway;
- the distance between the fuse box and that location;
- your grid connection: single-phase, three-phase or unknown (that is fine, we will check);
- your car, current or future, and how you use it;
- whether you have solar panels or another charger.
That is exactly what our configurator asks, in a few minutes.
Step 2: advice and, if needed, a site survey
An expert analyses your answers and gets back to you. Depending on the situation, a phone call is enough, or a site survey is needed: an old or full fuse box, a long distance, a complex cable route, post mounting with trenching. The survey allows an accurate quote and avoids unpleasant surprises on installation day.
This is also the time to choose the charger: power suited to your home and your car, a charger with or without a cable, solar features. We compare the main models in our comparison of the main brands.
Step 3: the quote
A complete quote should itemise:
- the charger and its options;
- the wiring (length, cross-section, installation method);
- the protective devices in the fuse box (circuit breaker, suitable RCD);
- load management, if needed;
- the RGIE inspection and the updating of the wiring diagrams;
- commissioning and the VAT rate applied (6% or 21%).
Always compare complete offers: it is the installation, not the charger, that makes the price vary. See our guide to the cost of an EV charger in Brussels.
Step 4: fitting
On installation day, the technician:
- switches off the power and prepares the fuse box for the new circuit;
- runs the cable to the charger location (surface-mounted, in trunking, recessed or buried);
- mounts the charger on the wall or on its post;
- installs the protective devices and, where planned, the metering sensor for load management;
- tests that everything works with your car, if it is available.
In most homes, everything is done in a single visit.
Step 5: the RGIE inspection
The new circuit must be inspected by an approved inspection body. You receive an inspection report, to be kept with the wiring diagrams of your installation. With us, this inspection is included in the price. Full details in our article on the RGIE inspection.
Step 6: commissioning
The charger is connected to its app: power settings, charging schedule, badge or access, consumption monitoring. Take the time to schedule charging for the cheapest hours in your region: see when to charge.
EV charger installation steps: what you can prepare in advance
- Locate your fuse box and the spot where you would like the charger.
- Check the Wi-Fi coverage there, or plan a solution (network cable, repeater).
- In an apartment building, first obtain the necessary approval: see EV charger in an apartment building: the steps.
- For a company car, find out about your employer's policy.
How long from request to first charge?
It mainly depends on whether a site survey is needed, on the availability of the chosen charger and, in an apartment building, on how long decisions take. The simplest approach is to start early, for example as soon as you order your car, so that the charger is ready when it is delivered.
Ready to get started? Describe your installation in the configurator, or discover our home EV charger service.